
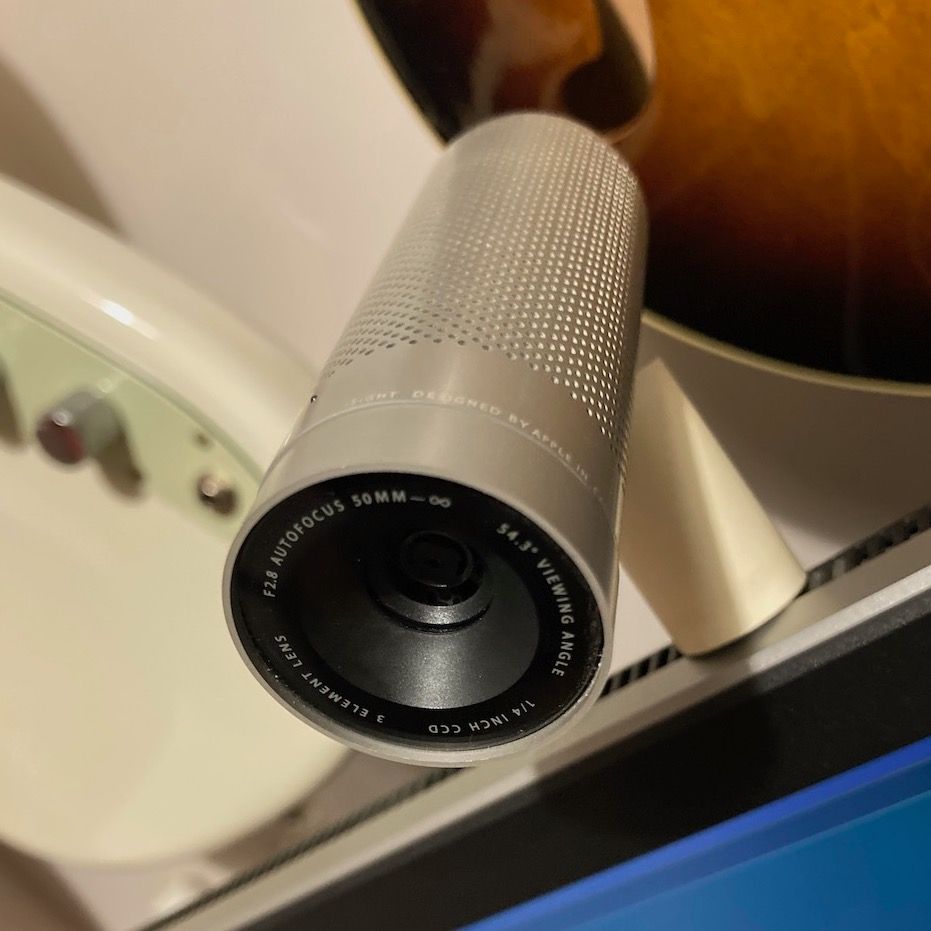
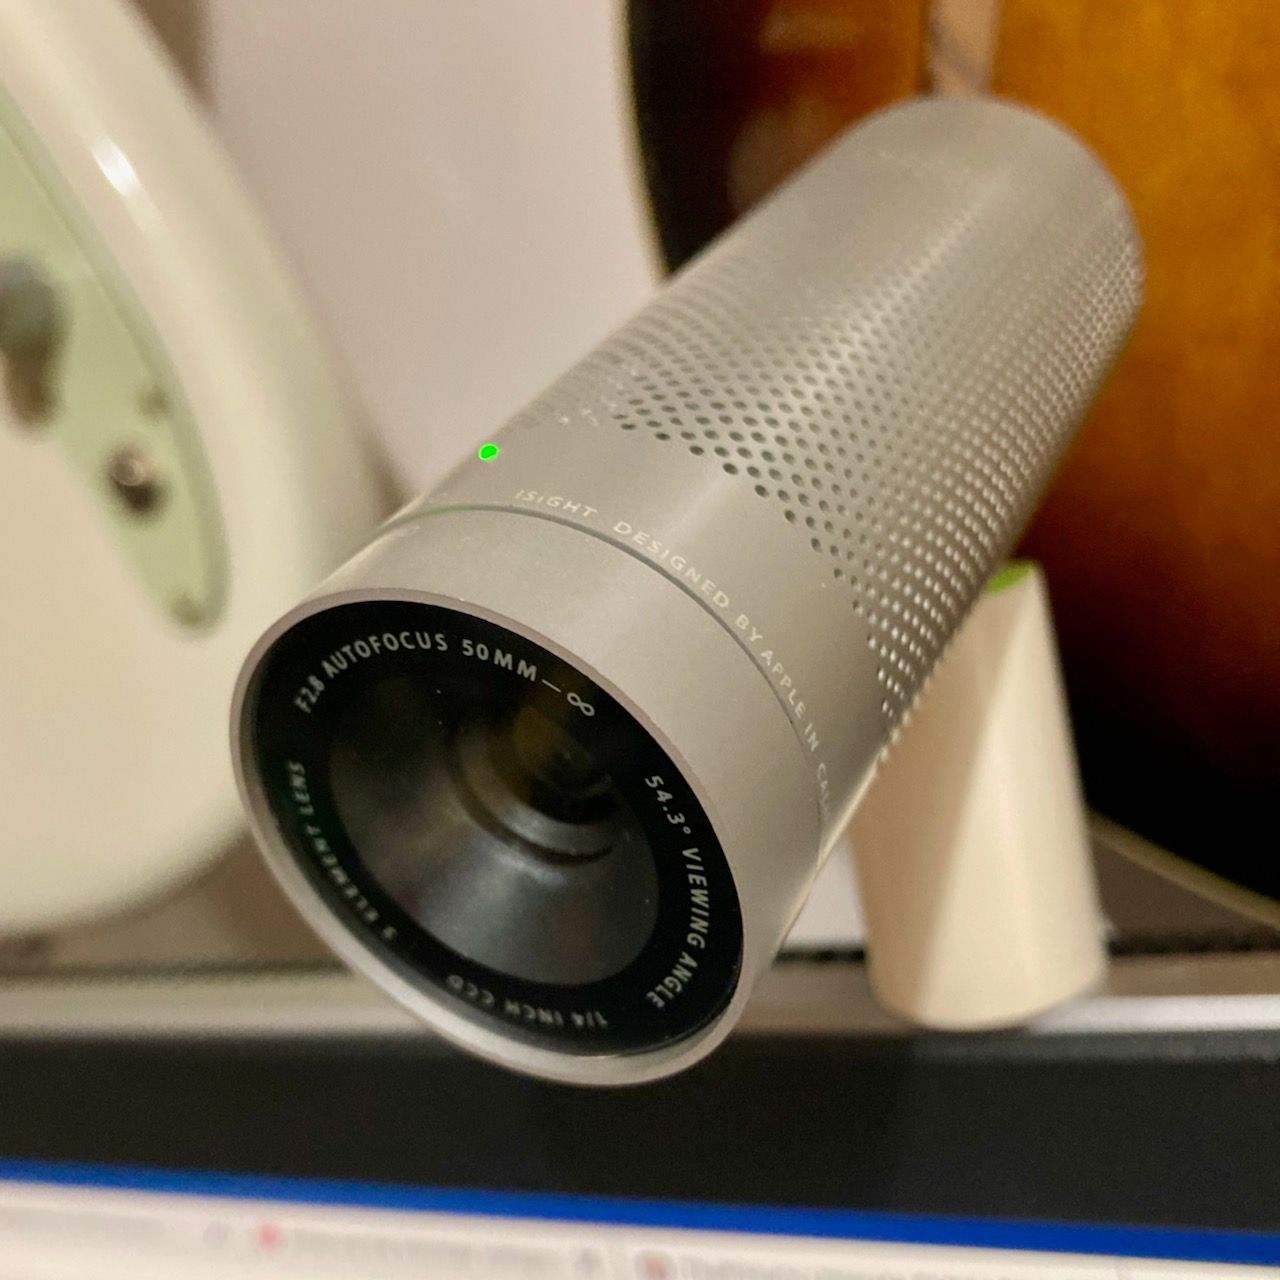
I'd always admired Apple's original iSight camera and whilst I didn't own one in their heyday, I remember thinking back then how nice they looked compared to other webcams built around the same time. It looks purposeful and professional.
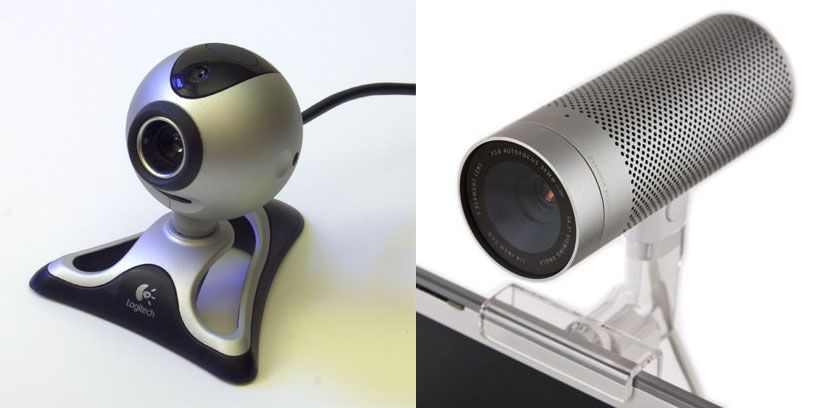
A few times I wondered about the old iSight, and if it would still be a viable webcam today. Fortunately Max Braun had already pondered this very same question during lockdown. He'd worked out a way to modernize the iSight by replacing the internals with a Raspberry Pi Zero and Pi webcam module, using a 3d printed chassis. He also provided a github project with his 3d models of his chassis design and full details so anyone else could build one for themselves.
As I had some time off over Christmas, I decided that I would use some of it to build an PiSight. So I purchased an original iSight from Ebay, procured the necessary Pi Zero, webcam module, cables and fasteners in advance and ordered a 3D print of Max's Model. I'm based in the UK so I used sgd3d.co.uk.
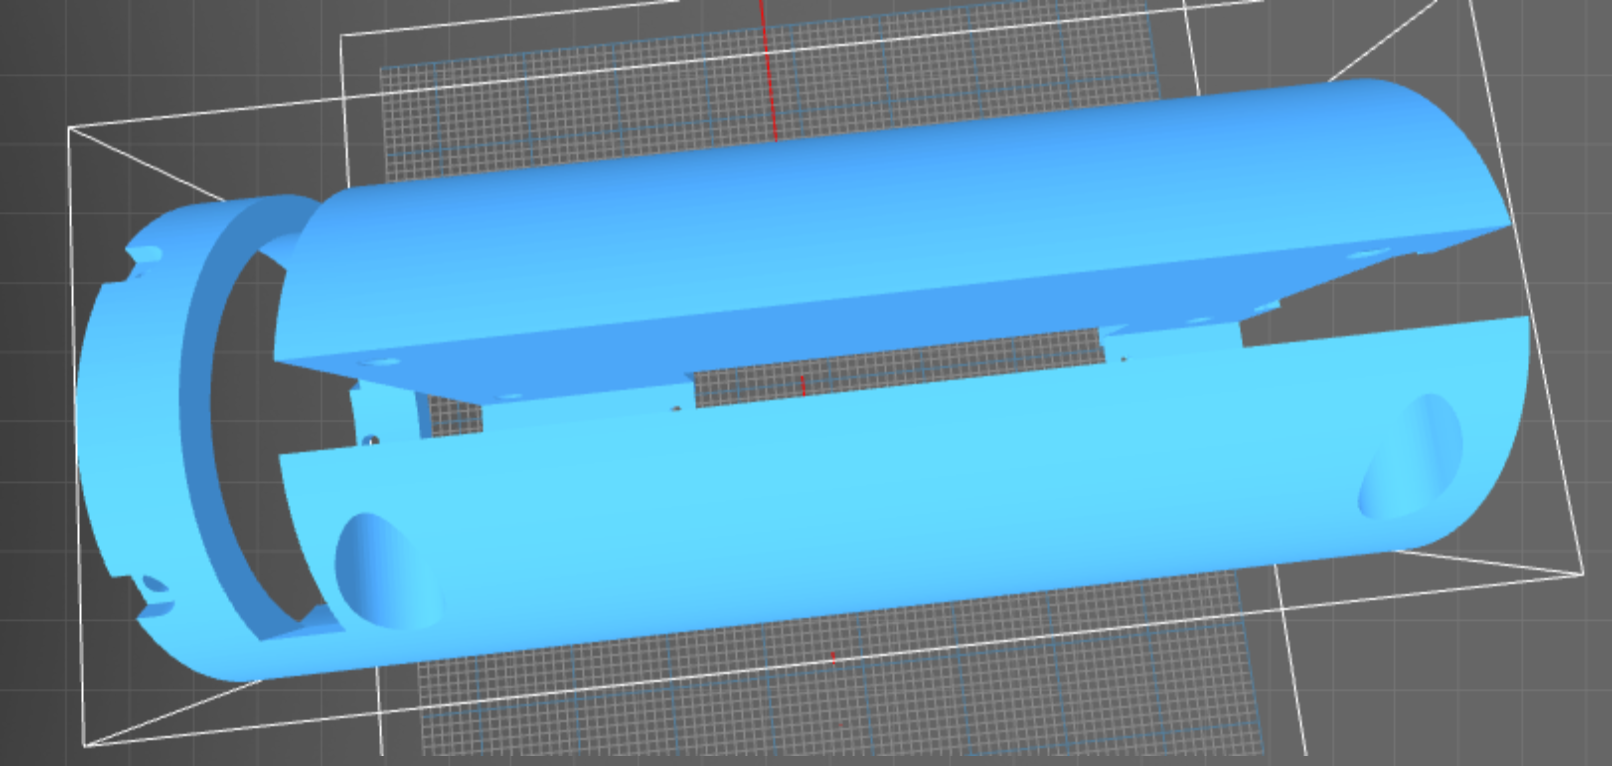
The 3d print I ordered used ABS as it was a cheaper option compared to higher resolution plastics. Overall I found that it was good enough for this use-case, with perhaps the exception of the smallest screw holes which are a bit loose. My print cost me £16.99 + shipping. Having never done this before I'm pretty happy with the print and how it turned out.
Note: I also found out in taking the screen-shot for this post, someone at sgd3d had been trying to point out that the resolution of this material wasn't good enough, but unfortunately I didn't log in after placing the order so didn't see the messages. Their recommendation was be to use "rigid 4000" but this would have cost a lot more.
Finding the specified screws (M2.6 x 0.45 mm Thread, 6 mm long) for the zero board in the UK was difficult so in the end I improvised with self-tapping screws that I had in a box of random screws.
The software
I decided to use the excellent showmewebcam for the software side of this project as this mentioned on Max Braun's github project page. Showmewebcam makes an rapberry pi + camera module into a UVC (USB Video Class) webcam. The software is tiny and once you've flashed it onto an SD card all you need to do is plug in the usb cable wait a few seconds for it to boot and away you go.
The first step was to flash the card, I used the standard Pi imaging software and just pointed it to the build from the pi zero w release of showmewebcam. With that installed, the cables connected it was up and running.
The build
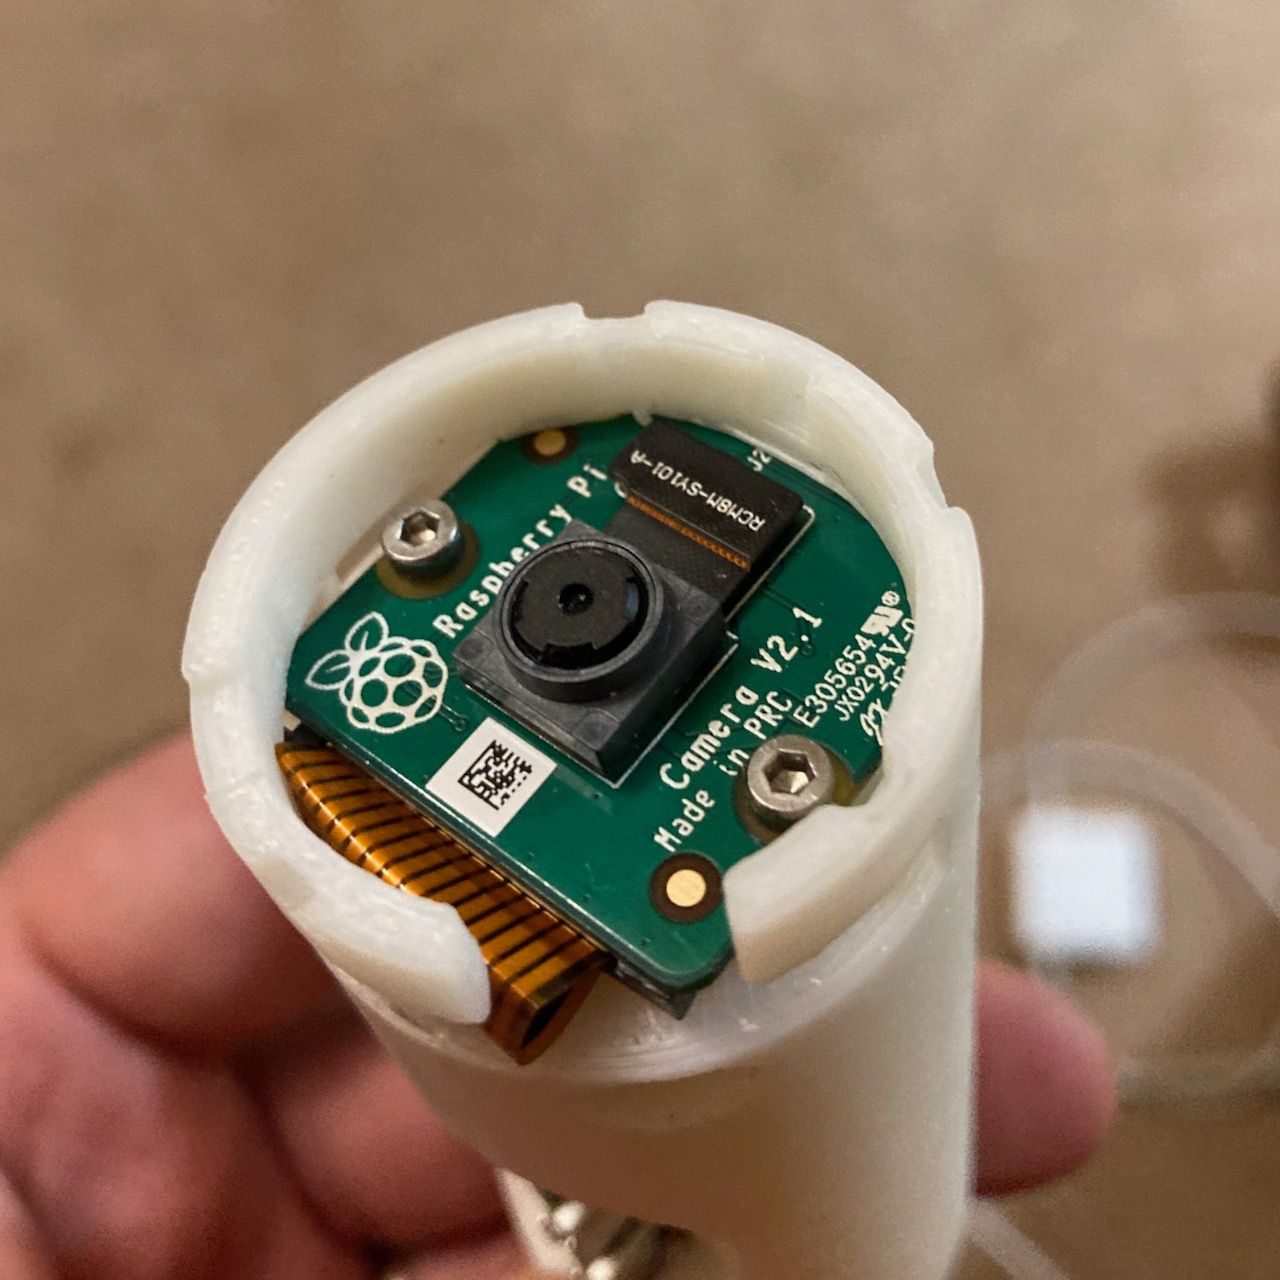
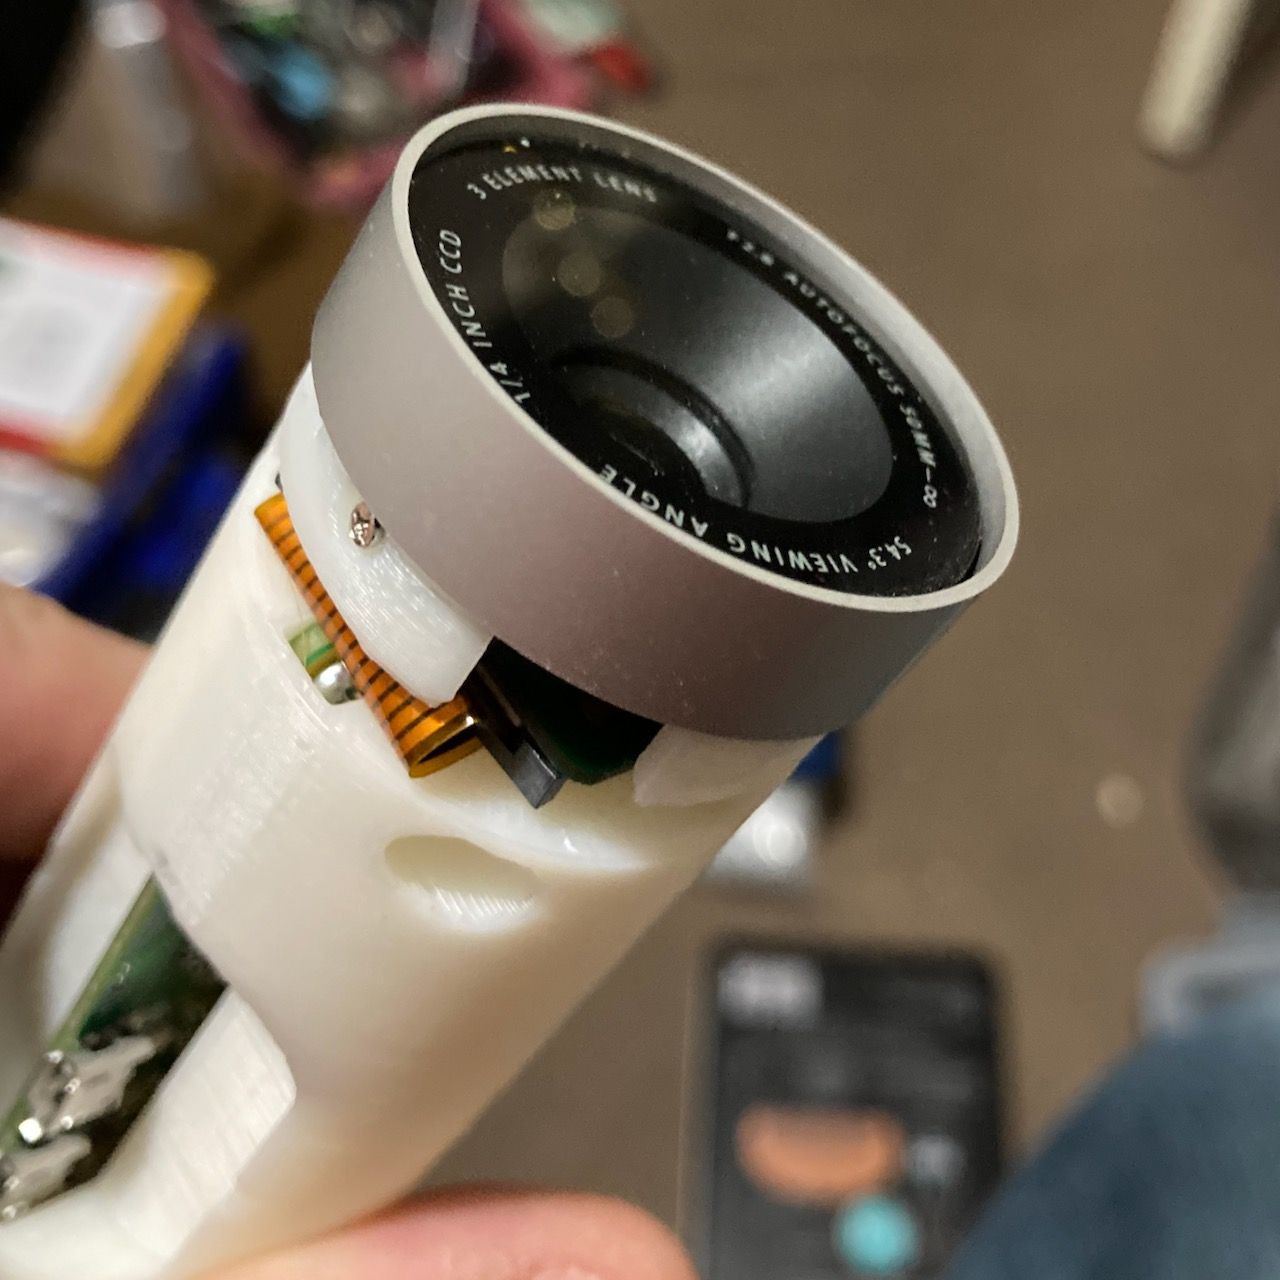
Putting together the actual camera was fine, with the exception of the cable routing through the chassis. The ribbon cables that are required are quite fragile and there's not a lot of spare room between the camera module and the sd card slot.
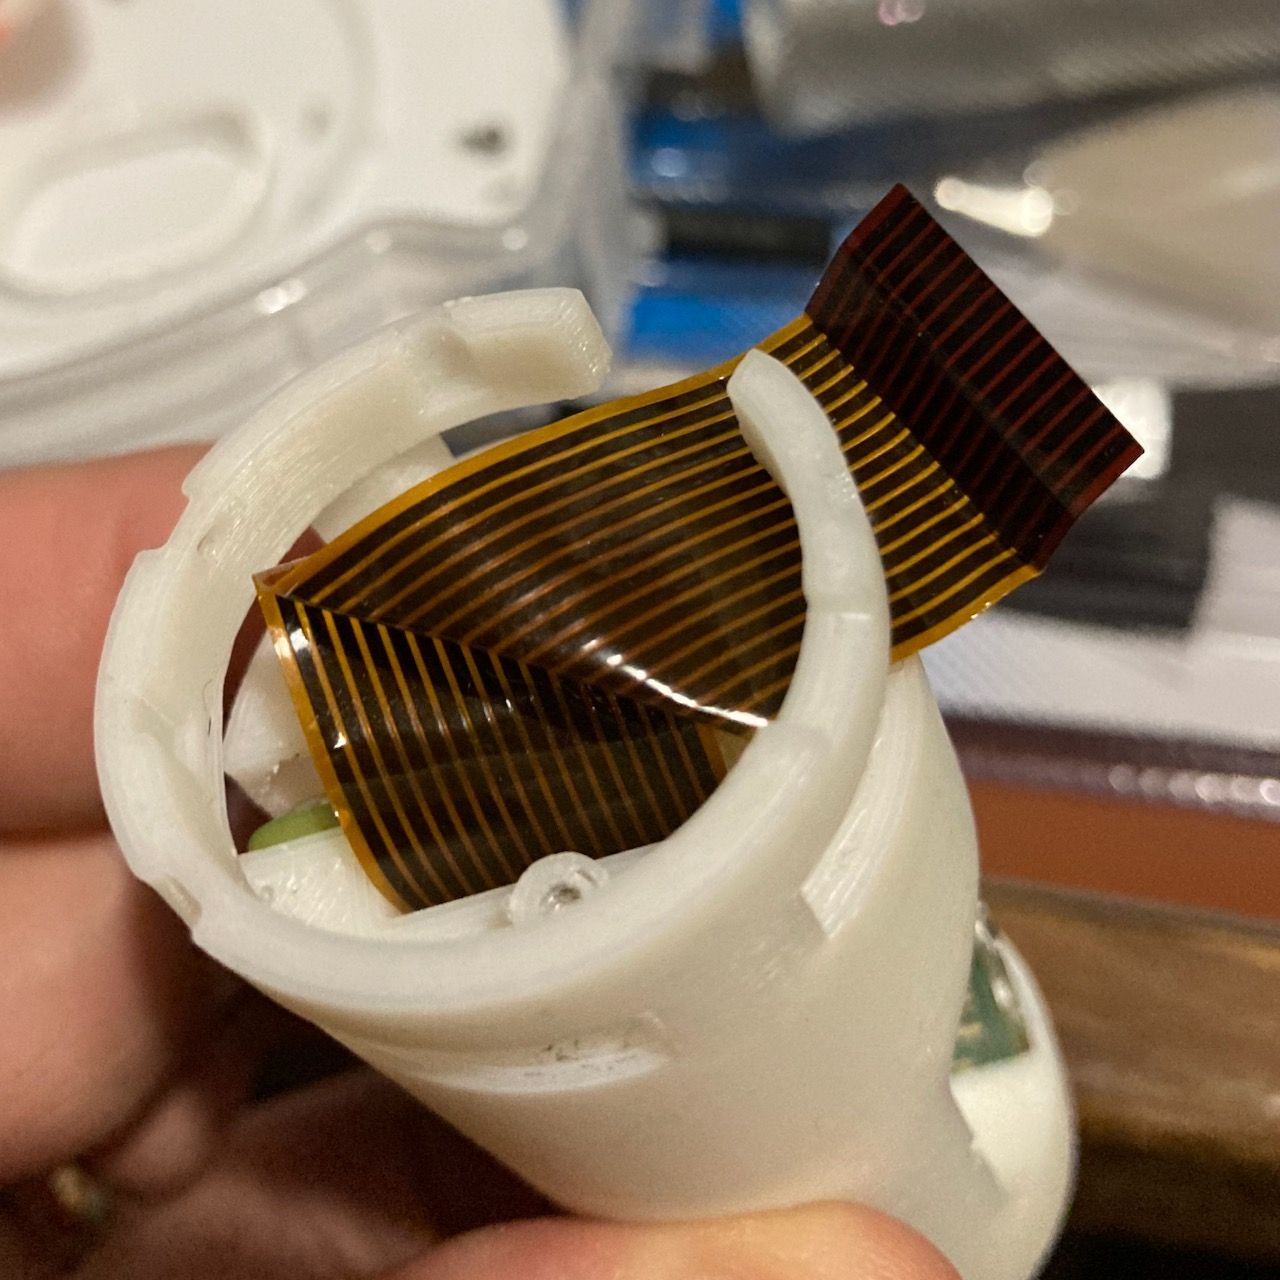
All in all I managed to destroy 3 cables in the process of the build 😱, this was mostly related to taking the build apart too much to tweak things including updating the software. In particular, the end joining onto the camera module was very difficult to get right, it has a tendency to have too much slack and then if it fouls the casing at all taking the case off and on will eventually cause the internal traces to break along a fold. At one point I also knocked the cable out of it's connector on the module itself.
Once nice thing about the software is that it flashes the internal Pi Zero LED 3 times when it boots. If the led doesn't do that it's likely to be time for a new cable!
Also my cat Norah, loved playing with the cables 😻. I found she'd moved my spare cable upstairs to play with it. Fortunately she didn't wreck it, and that's the cable that's in camera now.
Fixing field of view issues
With everything working I started to use the camera when I was back a work. It worked great, but there was one small issue. Using Zoom I found that randomly the image would appear to "zoom" in. What was happening was that zoom was requesting a larger resolution which resulted in a "cropped" field of view. This happened at random times and could be disconcerting for whoever was on call, which I suddenly went into "extreme close-up" mode.
To fix this I looked into how to lock the resolution / field of view. This diagram shows what's happening. The default resolution used by zoom (According to running camera-ctl was 1280x720. When it looked cropped that was switching to 1920x1080.
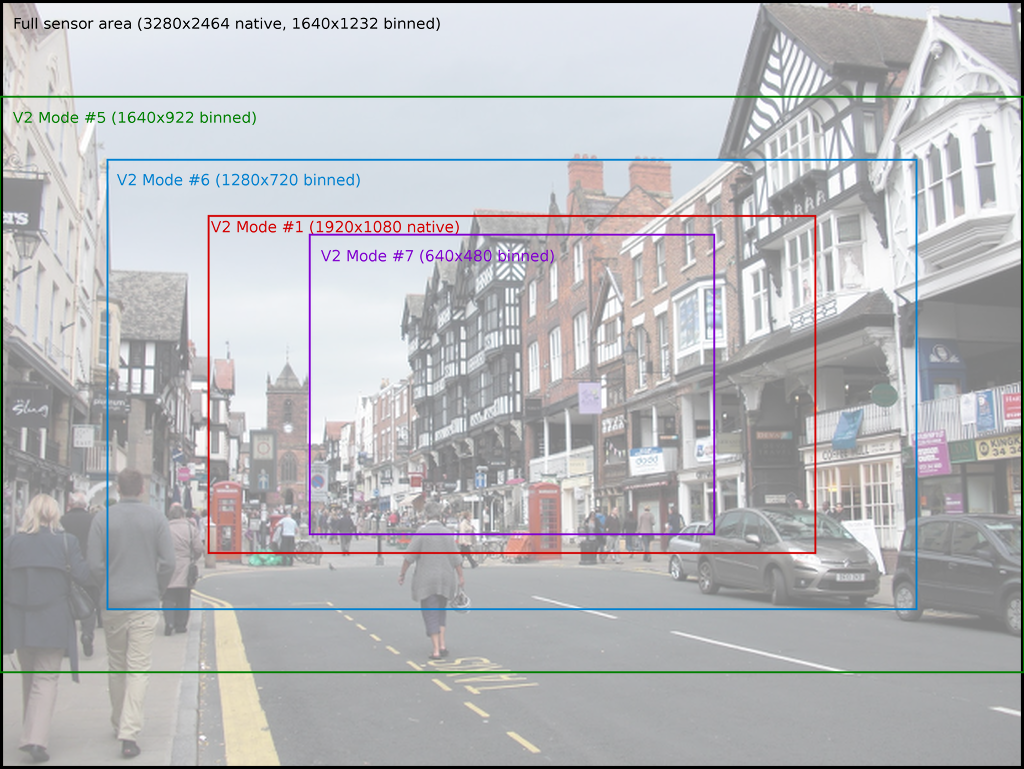
The fix, was to comment out the available resolutions in the source and re-build the software image, this would limit what was exposed to software. htruong on the showmewebcam project pointed me in the right direction here, and also mentioned that I could use github to build the image. This was a handy tip as the shell-scripts used for the build use flags that are not compatible with OSX's shell-commands. Rather than carrying out the necessary yak shaving to set up a linux container / vm to do the build locally, I just enabled the github actions on my fork and did a PR against my own fork. This provided the necessary image with the resolution locked down to 1270x720 for wide-screen.
I've been running this ever since and it solved the issue I was having with zoom.
Taking it a step further, adding an LED
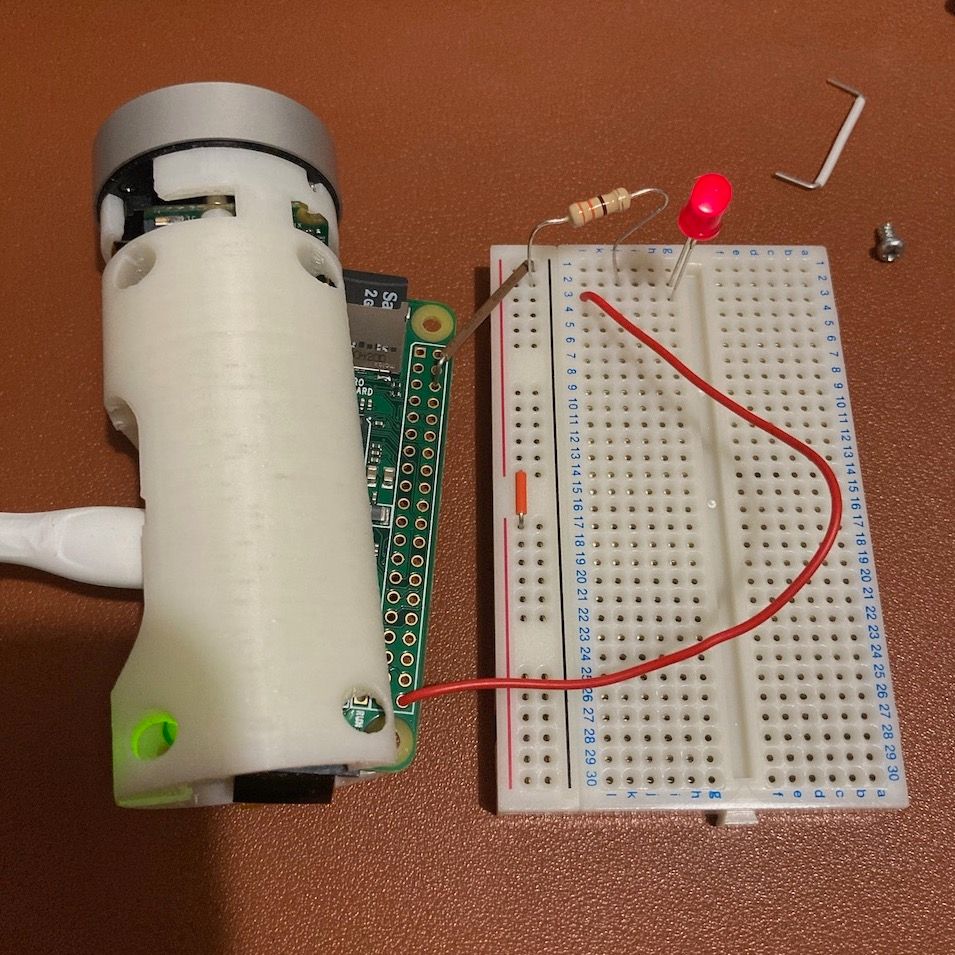
One nice feature of the showmewebcam project is that they've provide a way to activate an external LED with the GPIO pins on the pi zero. This lights up when the camera is in-use.
I wanted to use an LED to light up the clear diffuser that's in place on the iSight Chassis so that it would look and work just like the original.
Before I started I did a quite prototype with a breadboard. It uses a 330-ohm resistor to limit the current to the LED. The pins provide 3.3v when active.
The original iSight used a tiny surface mount LED to light this up. So I ripped this out of the guts of the old iSight. With some careful soldering I soldered a fine insulated cable either side of the LED, and wrapped the whole thing in shrink-wrap with a hole punced in the LED side to let the light out. The aim here was to make a low profile container that would put the light where I wanted it without too much leakage. I added a smaller sized 330ohm resistor (compared to the prototype) inline, and twisted the two wires together and soldered them to the right connectors.
With the whole thing assembled I found there's was a tiny bit of leakage on the chassis when the LED was light so I used some aluminum tape to fix it. It would probably be possible to improve the shrink-wrap cover to not need to do this. I'll also take a picture of what the LED wiring looks like next time I'm in there!
I really enjoyed this project, I use my camera for calls on a daily basis so it's been very practical. The cables are the most tricky part, so my only advice would be make sure you have spares, if you don't break one at some point you'll be very lucky. The quality of the images produced by the webcam module are as good as, if not slightly better than the default macbook pro webcam - which is a plus.
Credits
Thanks to Max Braun for coming up with the PiSight concept, and everyone who contributes to showmewebcam (including the projects it is based on). The combination of these projects did all of the heavy lifting, and by sharing their work, it has enabled others like me to be able to follow in their footsteps. ❤️