In case you want to try out some things on OSX without doing it for real then being able to create a VM of OSX can be appealing.
Apple allow you to do this if you're runnning Apple hardware. The biggest challenge is finding a way to access the installer.
If you've upgraded to Mavericks already then you'll need to re-download the Mavericks installer from the App store.
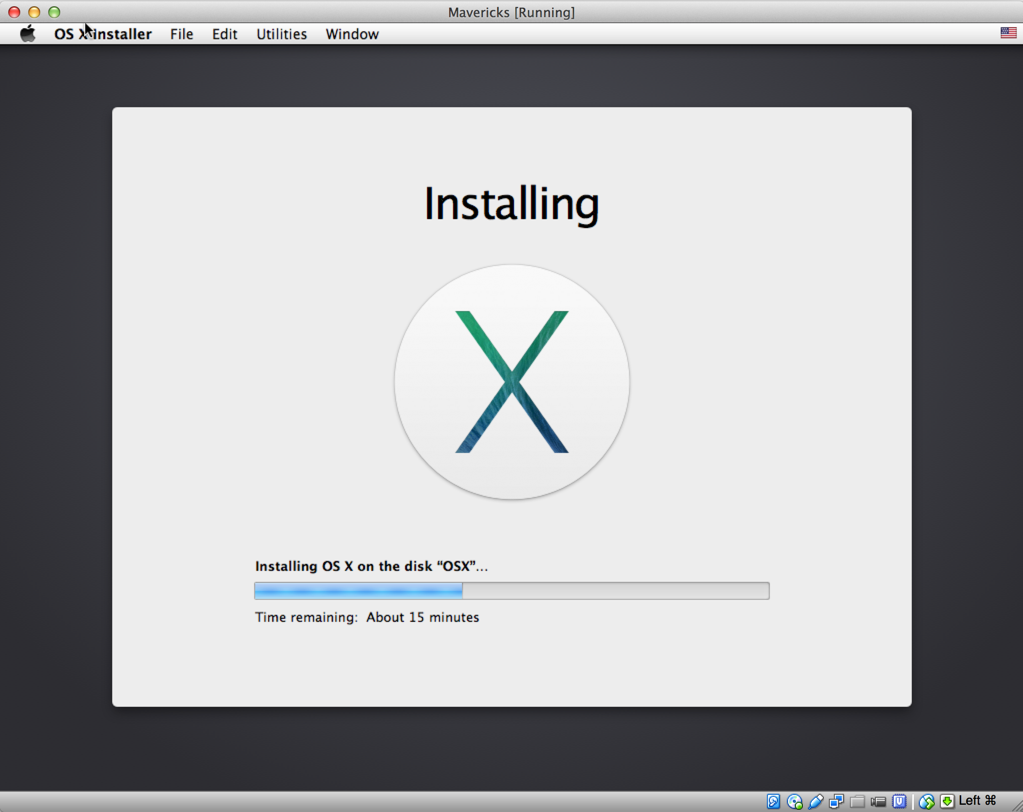
Once you have this you can follow this Gist to create an iso file that you can boot to.
This file contains hidden or bidirectional Unicode text that may be interpreted or compiled differently than what appears below. To review, open the file in an editor that reveals hidden Unicode characters.
Learn more about bidirectional Unicode characters
hdiutil attach /Applications/Install\ OS\ X\ Mavericks.app/Contents/SharedSupport/InstallESD.dmg | |
cd /tmp | |
hdiutil convert /Volumes/OS\ X\ Install\ ESD/BaseSystem.dmg -format UDRW -o /tmp/RWBase | |
hdiutil convert -format UDSP -o /tmp/sparseRWBase RWBase.dmg | |
rm /tmp/RWBase.dmg | |
hdiutil resize -size 6g /tmp/sparseRWBase.sparseimage | |
hdiutil attach -owners on /tmp/sparseRWBase.sparseimage -shadow | |
sudo rm /Volumes/OS\ X\ Base\ System/System/Installation/Packages | |
sudo ditto /Volumes/OS\ X\ Install\ ESD/Packages /Volumes/OS\ X\ Base\ System/System/Installation/Packages | |
hdiutil eject /Volumes/OS\ X\ Install\ ESD/ | |
hdiutil eject /Volumes/OS\ X\ Base\ System/ | |
sudo hdiutil makehybrid -iso -hfs /tmp/sparseRWBase.sparseimage -shadow /tmp/sparseRWBase.sparseimage.shadow -o ~/Desktop/OSX-10.9.iso | |
rm /tmp/sparseRWBase.sparseimage.shadow | |
rm /tmp/sparseRWBase.sparseimage |
The next step is just a case of pointing your VM software at this iso image and then booting from it.